
We’ve previously written about our desire to build a solution to introduce the Philips Hue bulbs to an AllJoyn network, and it’s finally here!
Introduction
In coming up with the idea to build this solution we had already laid the architectural groundwork and the only thing which remained was for us to stop turning the office into a light disco, and to get cracking with finalising the design and writing the code.
We initially reminded ourselves of what it was we wanted to do. This was to introduce our array of newly purchased Philups Hue bulbs to the same language that our LifX bulbs use. This language is AllJoyn. In doing so we would have a single access point for controlling all of our bulbs, whether they are LifX, Philips Hue, or any other AllJoyn supported lighting system. Bring on the light disco!
Summary
The overall architecture for this solution may look complicated, but it’s actually rather straight forward when you understand it. The Philips Hue lighting system has its own language, and there are an array of apps which are able to communicate with it. Likewise, something like the LifX bulb also speaks its own language, which is different to the Phillips Hue system, and this universal protocol is called Alljoyn. Even though the two lighting systems look similar on the surface, they cannot speak to each other and will never form the deep loving relationship we know they can have. But all they need is a universal communicator and the love will blossom. This is exactly what we intend to build.
The diagram below shows all of the components involved in building this universal communicator.
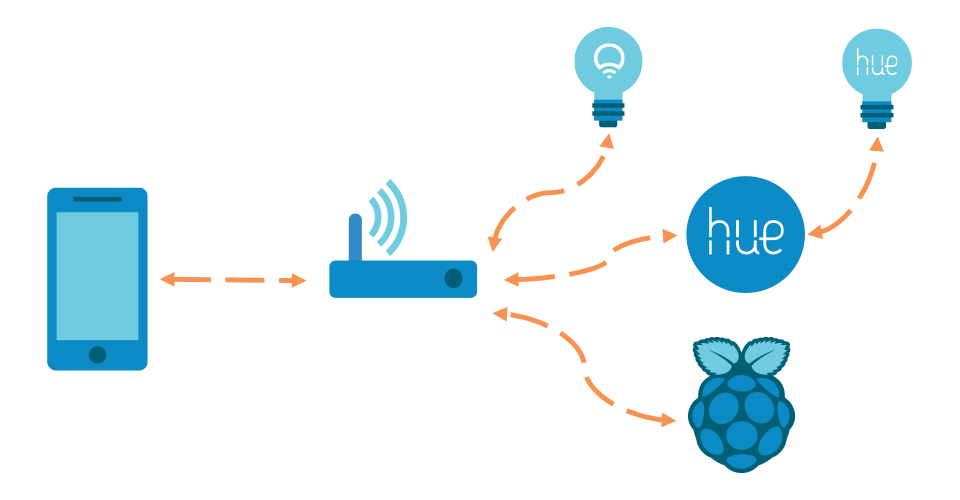
The two parts we will be building are the Raspberry Pi solution and the Windows 10 Mobile app. While both parts do compliment each other, they can also be used in isolation and still provide a use to someone who may already have the other part.
For e.g, you already have a universal AllJoyn application to control your lights, but you need to bring Philips Hue bulbs into that. Or you’re not interested in Philips Hue bulbs, but you want a cool looking AllJoyn mobile app for your LifX bulbs.
Raspberry Pi
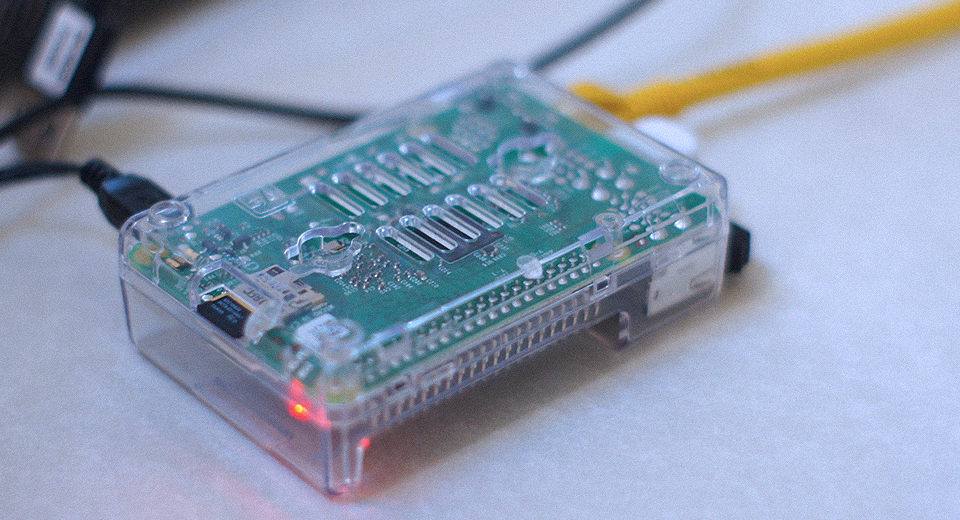
We’ll talk about the Raspberry Pi first, which we’re calling the Philips Hue bridge. We decided we wanted to experiment with Windows 10 IOT core and this seemed like the perfect project to get a chance to play with it. After installing IOT core onto an SD card and booting up the Pi we were pleased to discover a familiar development environment. We developed the obligatory Hello World application, deployed it, and sat back to claim a minor victory.
The next thing for us to do was to decide how we would approach the development of this Hue bridge application. We wanted to experience as many mini victories as we possibly could so our first point of call was to see if we could expose a fake bulb onto an AllJoyn network and have an already established application enumerate the bulb and control some basic functions, such as On/Off and Brightness.
Lucky, Microsoft have already done a lot of the heavy lifting for us by providing a new Visual Studio extension, called Alljoyn Studio. This generates a load of code using the WinRT API, it also creates a project stub for an AllJoyn bridge. After installing the SDK and creating a new project we could get started right away. Windows IoT core applications can be run headed, or headless. This means we can have the same code running with or without a UI present. We took care to ensure our business logic existed in the shared part of the solution so we didn’t have to write the code twice.
We first added a simple button to the headed app and wanted to code it to add a bulb to the AllJoyn system. This is where we hit our first snag and realised we had to do some reading before we continued.
To expose a device onto an AllJoyn network we need to know what type of device it is and what the definition is so that it conforms to the correct AllJoyn protocol. For example, you may have AllJoyn door locks, or an AllJoyn irrigation system -we want AllJoyn lights so we make use of the AllJoyn Lighting Service. This is a predefined set of definitions to describe a light system for an AllJoyn network. By using the tools provided by Microsoft we were able to produce what is called an Introspection XML. This is an XML file defining the interfaces and properties for a light bulb. From this XML file we can produce some automatically generated code to communicate, or expose a bulb for any AllJoyn client to communicate with.
Once we had this auto generated code we included it into our bridge solution and got started exposing some bulbs. As mentioned above, we wanted to initially start with fake bulbs. We got back to the button we added earlier before our knowledge hiccup and created an AdapterDevice based on the auto generated ILampDevice interface. Once the object was created, it was just a case of notifying the bridge that this new lamp existed. We added a simple coloured circle to our UI to indicate a fake bulb had been added. We could now add as many fake bulbs as we wished.
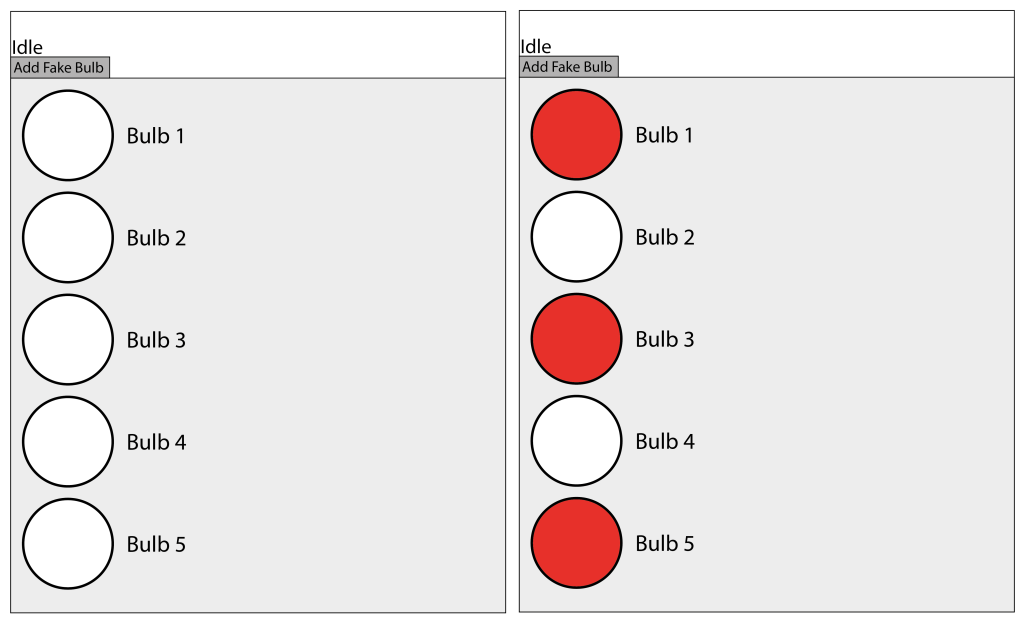
The next step was to check if an existing AllJoyn application could see this new fake bulb. Again, thanks to Microsoft we didn’t need to spend any time building our own application at this stage because of the provided AllJoyn explorer application. This is used to enumerate any AllJoyn devices it can find on the network and sure enough, a few seconds after starting the application we can see our new fake bulb. All that was left to do now was to complete the implementation of the Lamp device to expose the functionality we required along with adding the device information and icon. Because the lamps are a constant definition we could leverage the design of the ILampDevice to expose an On/Off function, Brightness, and the Hue colour of the lamp. Once we had completed this, and tweaked our simple headed fake application we could control the state of the fake bulb, the brightness, and the colour of the little UI indicator we had added.
The really nice part about this was that we were still working inside Visual Studio on our Windows 10 desktop machines and our productivity was very high. Before moving onto the Philips Hue bulbs we decided to run this on the Raspberry Pi. We strapped in, held onto our butts and deployed the application to the Raspberry Pi. A few breathless minutes later we were able to see the fake UI on a monitor plugged into the Raspberry Pi. We hit the fake button a few times to add our fake bulbs and launched the AllJoyn explorer app again. Bingo! Our bulbs were there and we could control them in the same way we could when we were running it on our desktops.
Hello Hue
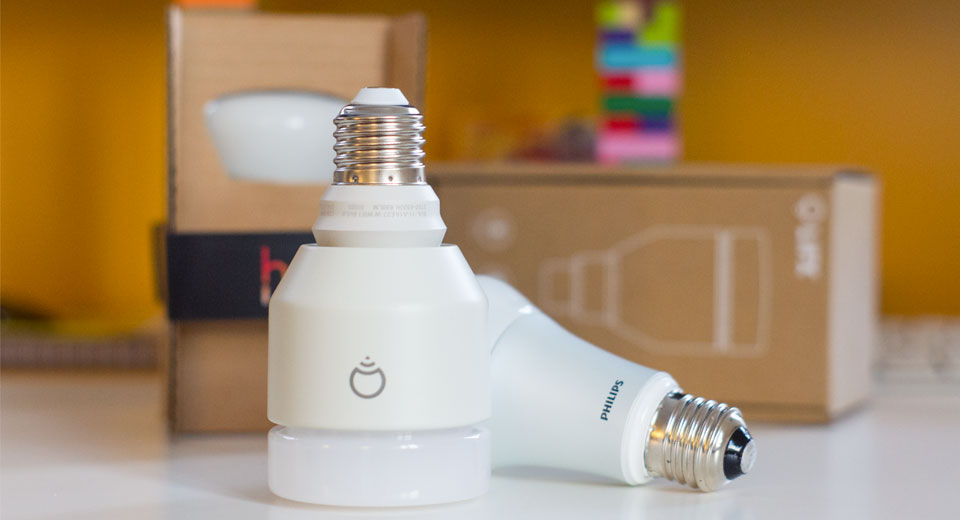
The remaining task was to introduce the Hue bulbs onto our AllJoyn bridge. Philips have provided a relatively easy-to-use RESTful interface to communicate with the bulbs. The documentation for this is here. In an attempt to reduce our effort further we decided to look around to see if anyone had already written a friendly .Net wrapper for this API. There were many to choose from but we settled on using the Q42 library. It had everything we needed, it appeared to be well built and when we prototyped with it, things “just worked”. The code for this can be found here on GitHub.
We simply added a reference to this library and added some code to enumerate the bulbs it could find. Once we had this data we simply had to call the same method we used to add the fake bulb but instead of using hard coded information, we used the data retrieved from the Hue API.
Note : There is a small initialisation step you have to complete when trying to communicate with Philips Hue bulbs in order to get an API key to prove you have permission to use these bulbs. We added a label onto our headed app to tell the user to press the button on the Philips Hue bridge when this initialisation step is required. This only needs to be done once.
Next up, try the AllJoyn explorer app again. And just like that, we have Philips Hue bulbs showing alongside our LifX bulbs as if they were always part of the AllJoyn protocol.
Hue like Windows 10?
With the bridge complete, we now needed a way to use this in the real world. As cool as AllJoyn explorer is, it doesn’t really make my heart flutter when I use it. We needed something a bit more suited to the job, so we set out to write a Windows 10 Universal application which could run on the phone, tablet, and desktop.

It was important for us to ensure this application was not focusing on Hue bulbs only, it had to be for any AllJoyn supported bulbs.
Our designer got to work on fleshing out what this might look like. We approached this project in a very similar way we would any project we do for all our customers, by first producing some basic wireframes. Discussions happened, heads clashed, and we ironed out any potential issues we saw. At the same time as the designer turned these into mockups, our developer started work on building the app.
The clock ticked by, but before long we had some fleshed out designs and a working app.
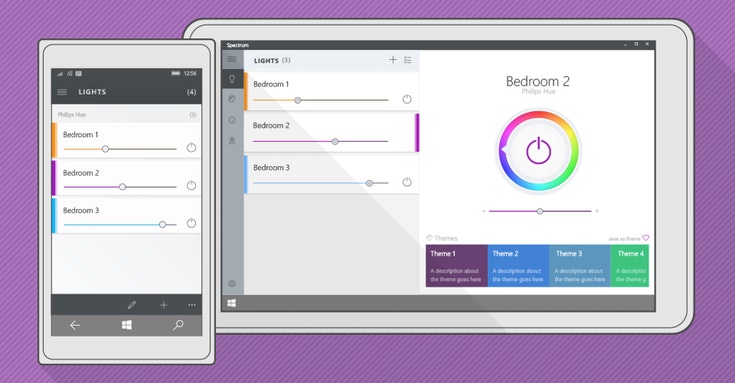
The developer took the designs and gave the working app a face lift. Unfortunately due to time constraints we had to settle on just building the phone version of this app initially. All of our logic will still work on tablet and desktop, but we just ran out of time to develop the interface. This will hopefully follow in the not too distant future.
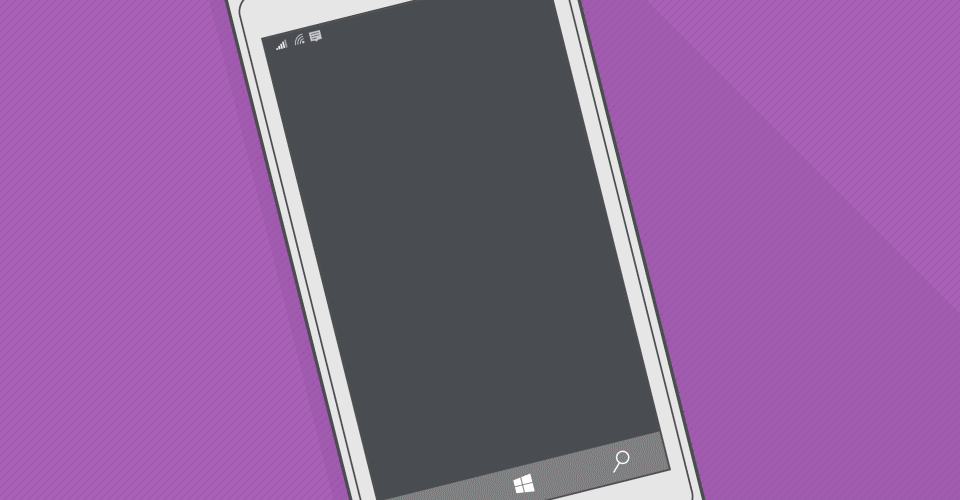
BOOM!
Say hello to an AllJoyn Bulb mobile application.
To summarize; we set out to introduce Philips Hue bulbs to the AllJoyn protocol and to develop a client application to control any AllJoyn supported bulbs, including Philips Hue. While we didn’t complete the very high goal we set ourselves for the mobile app, we did get a minimum viable product developed and we did get the bridge working to bring Philips Hue bulbs into the AllJoyn family.
Check out the project, located here on GitHub.
Highlights
- Windows IoT Core
- Raspberry Pi
- AllJoyn
- Philips Hue
- Windows 10

